
DAY ONE
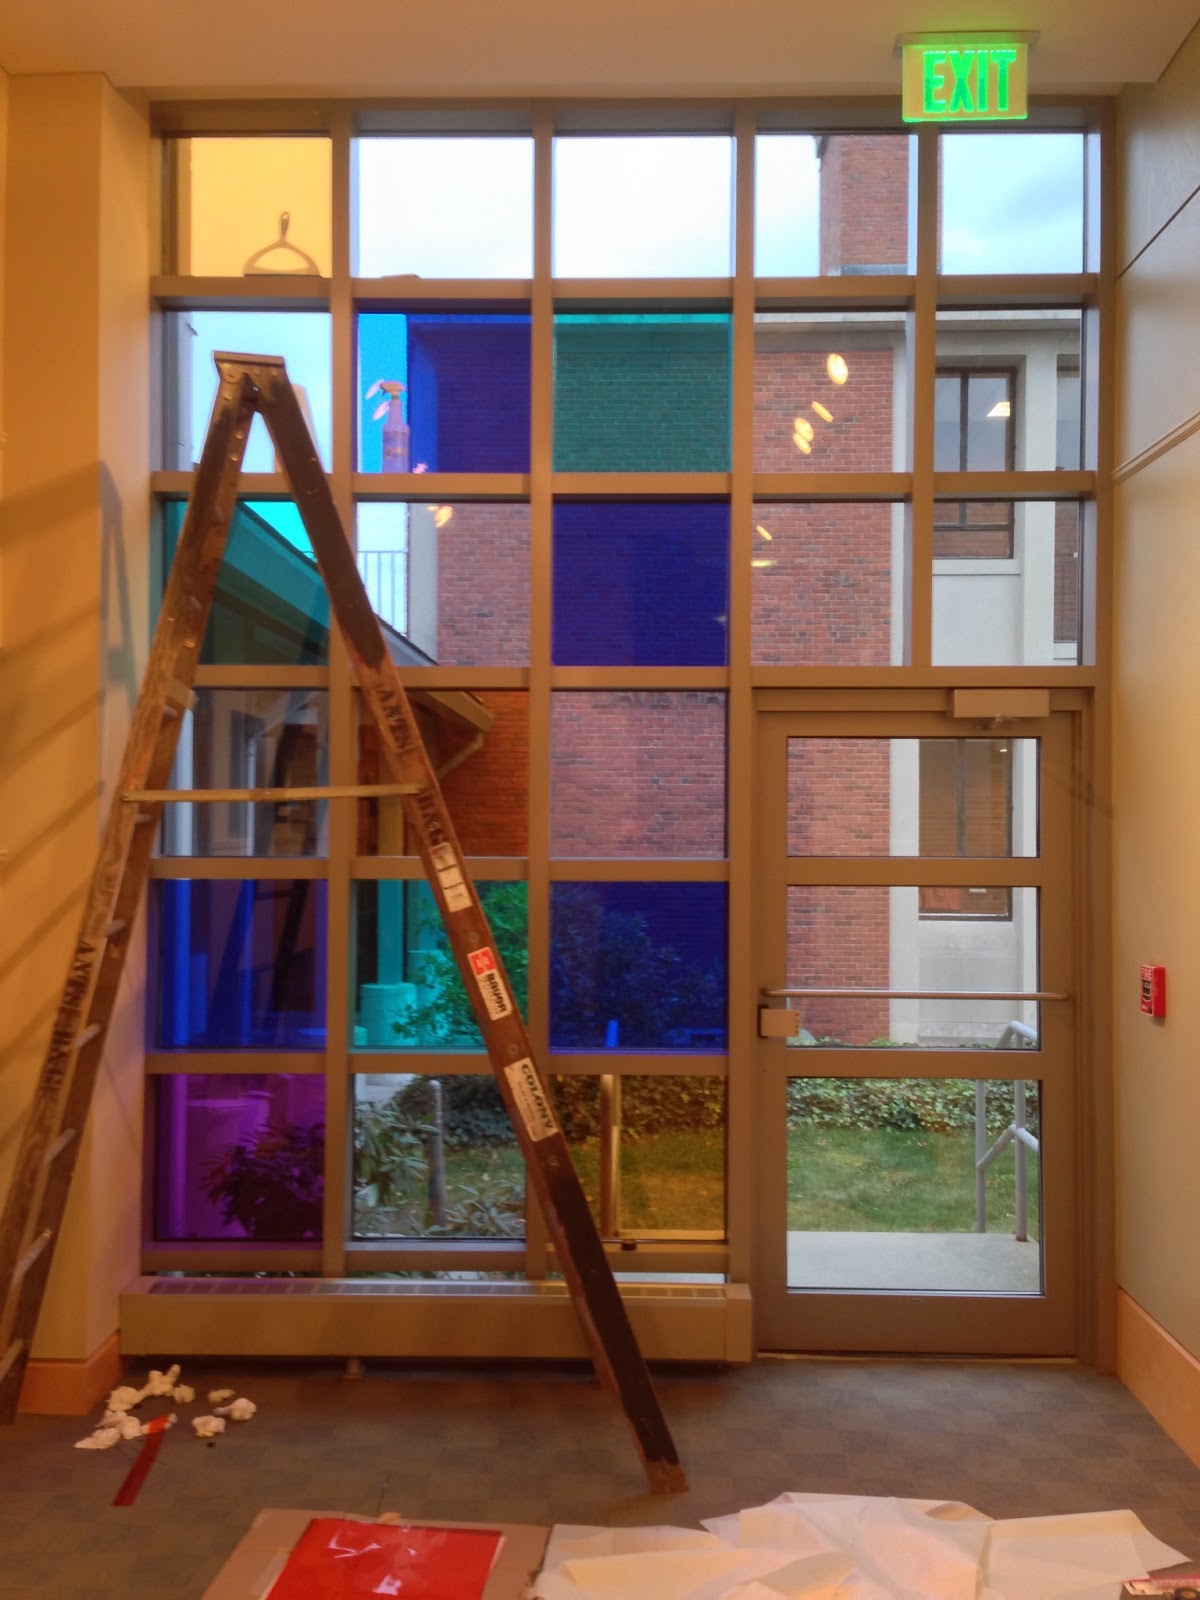
I began by installing what I thought would be the easiest part: my installation piece .windows/Sarly, which consists of theater gels and plexiglass in the wall of windows, transforming it into a stained glass mosaic reminiscent of giant pixels. A few days prior I was able to pick up the special ordered gels from the 4Wall Entertainment warehouse in North Jersey (which I highly recommend if you're looking for theater equipment. Remarkable service and very helpful staff)


Squeegee, spray bottle, and electrical tape in hand, I began adhering them to the windows.

 |
| I used a solution of water and dish detergent to create a suction cling, then reinforced it with some very uncooperative electrical tape at the edges. It only took about 17 windows until I figured out a system that worked well! |

 |
| Viewable from outside and from inside, depending on the time of day and lighting conditions |
I wanted also to blend colors, playing with complementary colors that negate out to gray, or unexpected color combinations, so I used plexiglass panels and gels to create layers.


 |
| color blending |
...Amounting to this!... except what's that on the floor?


Next, on to what I expected to take majority of the time and have the most hurdles to overcome.
Hurdle 1: the Wall
Problem: I needed to mount my projectors high on a wall into which I could not make any holes. It only had only a picture rail and hooks for hanging 2D pieces. I got some of the appropriate picture rail hooks and modified them to attach to my projector mounts. The trick was that the hooks would cause the projector to tip downward and eventually fall off. So I braced against that torque withs oem shelf brackets that would hopefully help it stay level, and hoped that my measurements were accurate enough to fit snugly to the actual rail and wall.

The real test was to see if it would translate in reality. Thankfully it did!


And so I began mounting what would end up being a ridiculously complex layout of wall mounted paraphernalia...
 |
| Shelf for the Mac Mini, 2 projectors, and a box to hold a surge protector and the extra coils of various cables |
Hurdle 2: Projecting
Now to make sure that the projectors would actually work in their new wall-mounted locations and allow me to project into the frosted windows...
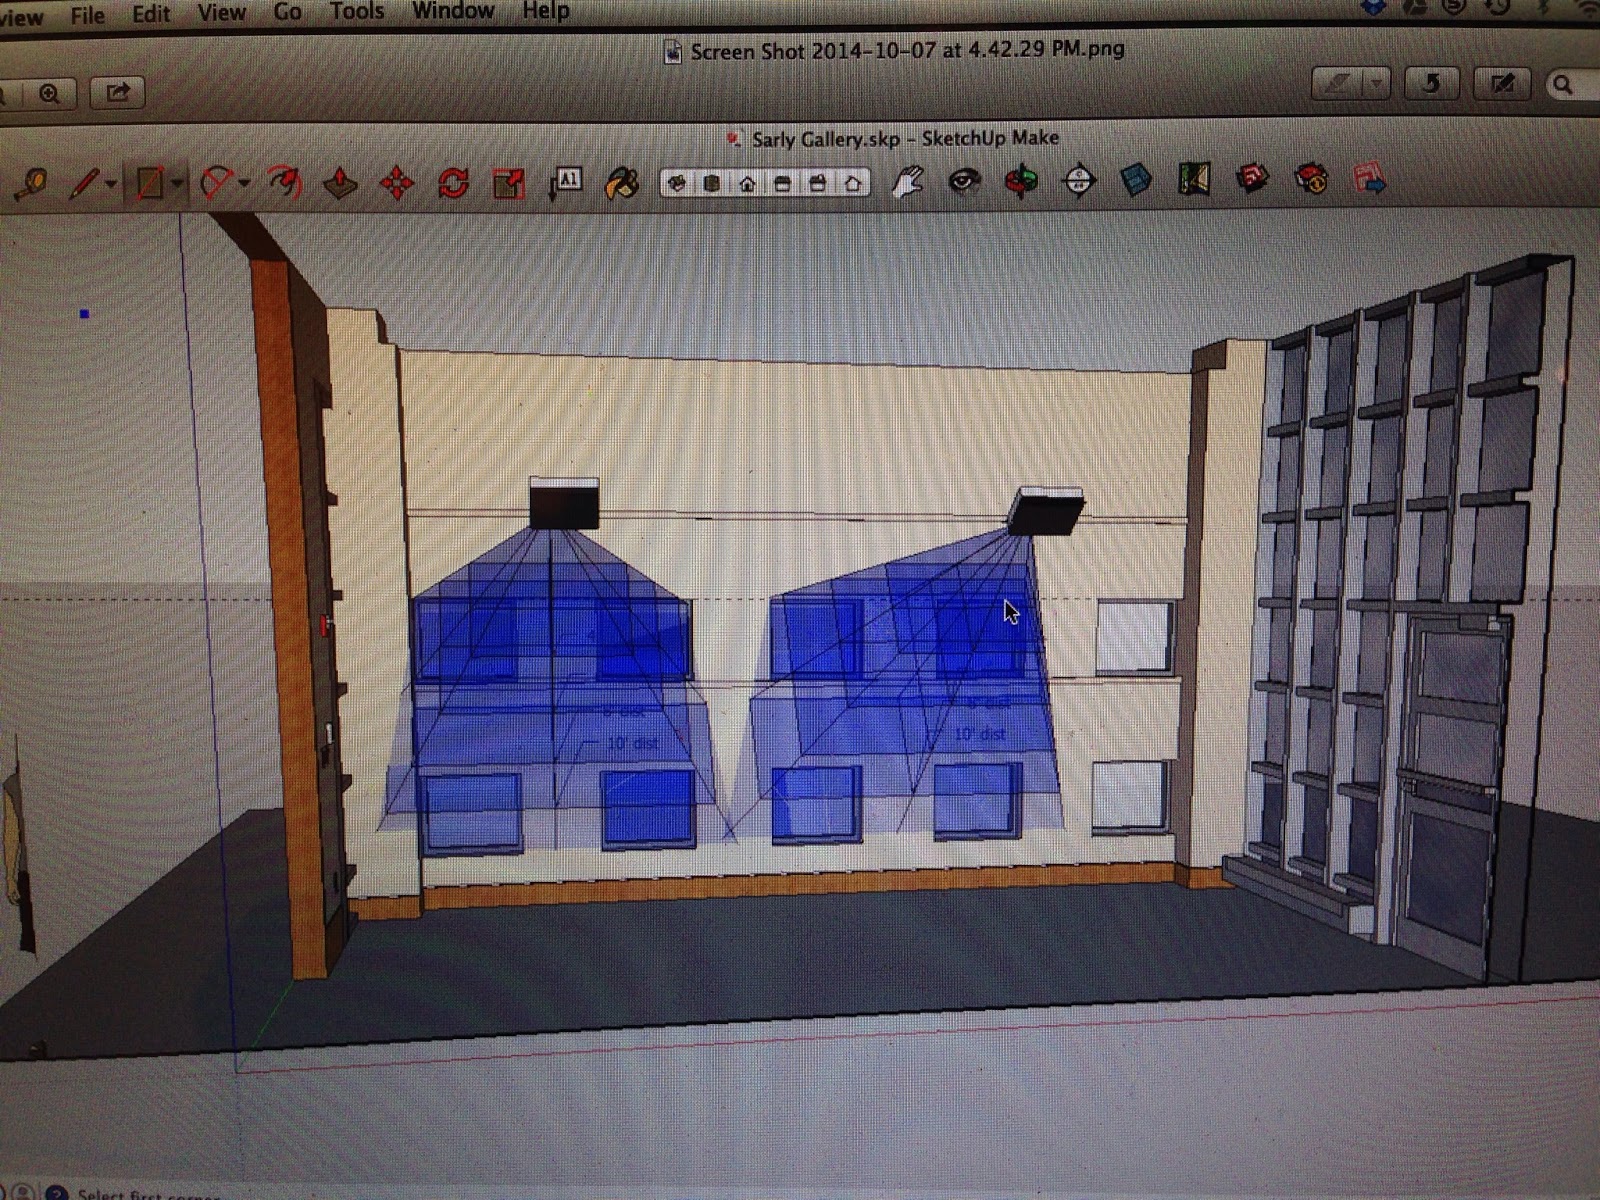 |
| As you may remember, this is what I was hoping would happen... |
 |
| And much to my relief, this is what happened! |

13 hours of install down, time to go to bed and continue in the morning.
DAY TWO
On the second day my first task was the one I was most nervous about in my long distance planning. The interactive part of my project would map the space of the gallery into interactive zones, and translate what happens in those zones into imagery in the frosted windows recessed into the wall.
 |
| translating the measurements for the physical windows into pixels pixels so that the projection lines up with the physical windows it will be projected onto. |
 |
| planning out the interactive zones in front of the windows and how they display in the projected window imagery. |
 |
| translating all that into code for the Processing sketch that controls the project |
The next challenge, once the imagery was set and the space was mapped out in the program, was to get it to project into the windows and get both projectors synchronized (one program on one computer controlling two projectors side by side to cover the winder space)
 |
| measuring out the parameters of the real space and adjusting my code accordingly |
 |
| lining up the projection and masking off the spaces between the windows |
 |
| view from the outside |

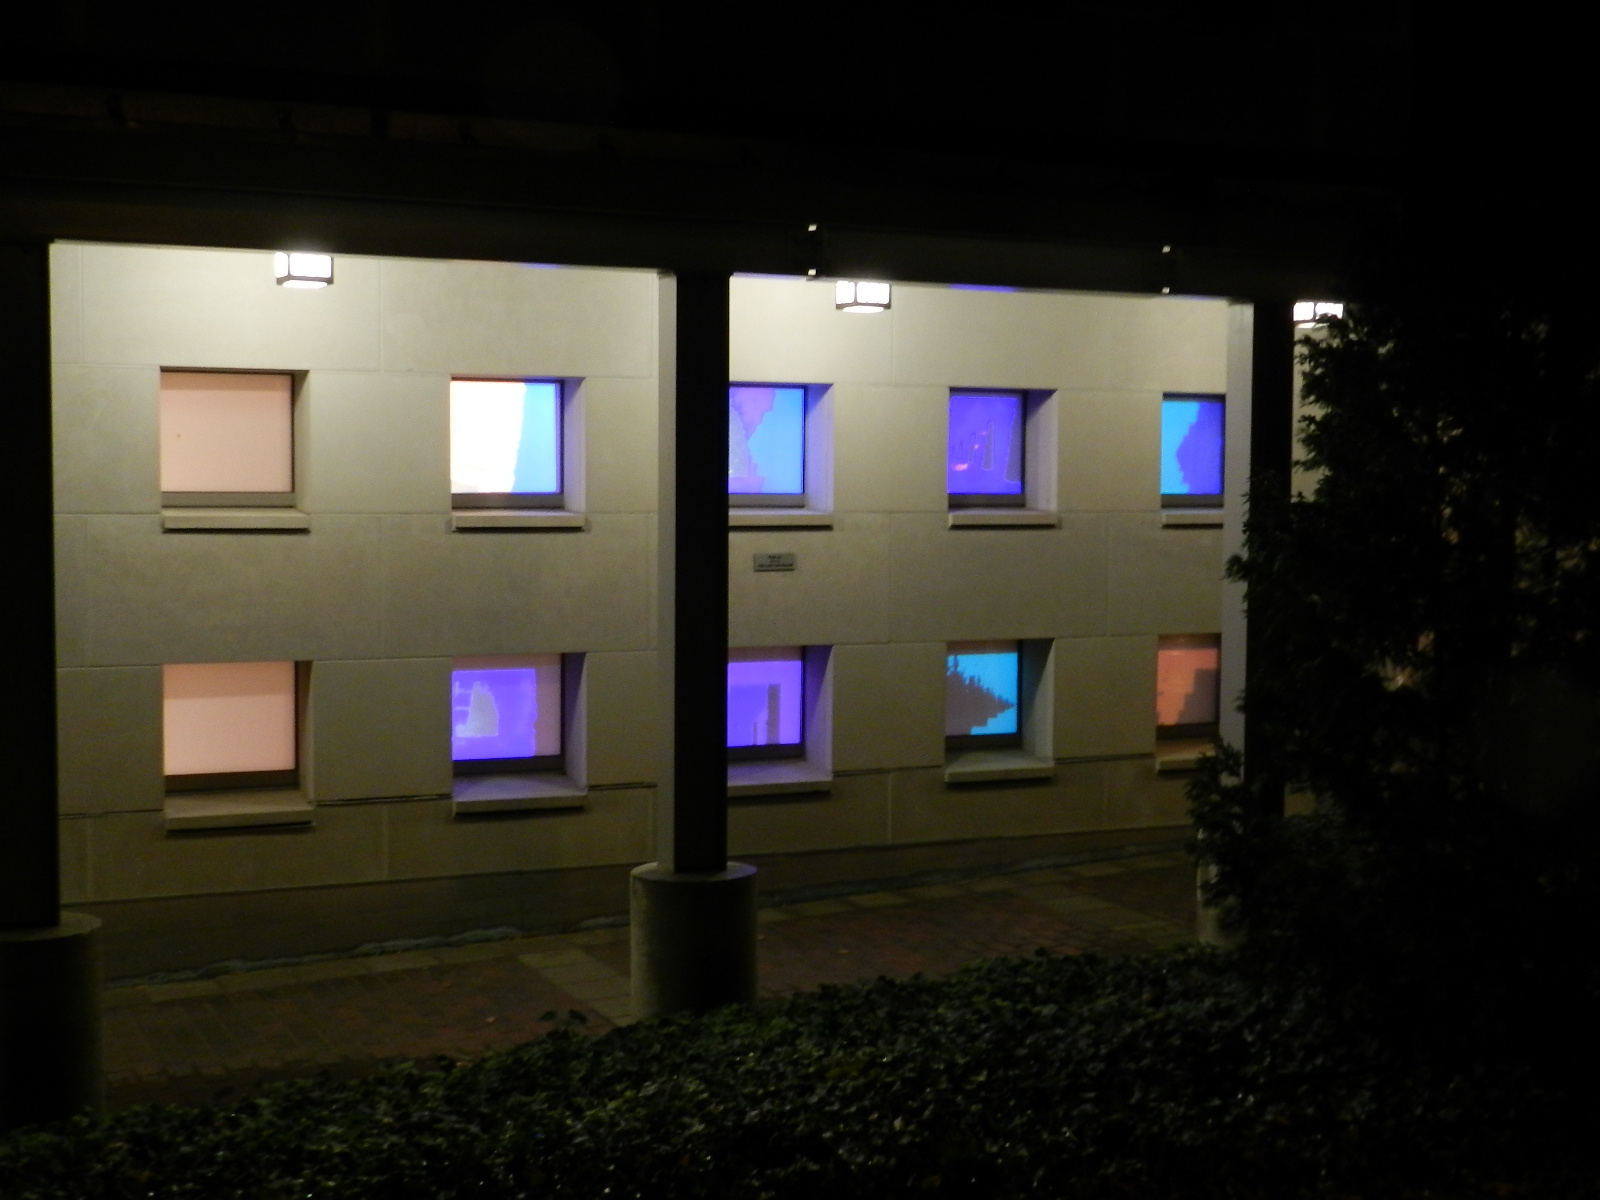
In each window there is a different composition of overlaid, semi-transparent colored renderings of the various interactive zones. Each image is then repeated as if in infinite regress toward a vanishing point, giving yet another layer of digitized, perspectival interiority to go with the theme of the show.


 |
| My ladder "interacting" |


Hurdle 4: Wiring
The last step was simply to figure out all the wiring issues, tidy up the place, and then hang some 2-D works.

Problem: There was only one outlet within reach just outside the room, and I needed the Kinect and projectors in very specific locations at the other ends of the room. I had to coordinate the lengths of power cords, VGA cables, USB extensions, Kinect cables, and extension cords to reach from the location of the Kinect in the back left corner of the room to the projectors on the wall, and then to the outlet.
I was pleasantly surprised to discover another outlet that would at least save me going over and around the floor-to-ceiling doorway at the entrance. That shortened a 40 foot extension cord to a 20 footer.

The picture rail actually came in handy here, as I could hook rings to the rail to feed the wire through.

 |
| A walkthrough following my trail of wiring |
With all that said and done, I hung the 2-D works and adjusted the lighting, and Voila!
 |
| Meditation 1.1 (Thusness, Elseness, Omnipresent) hung outside the entryway |
 |
| Cosmos on Gray 1/0 and 3/0 hung on the wall opposite the projections |
 |
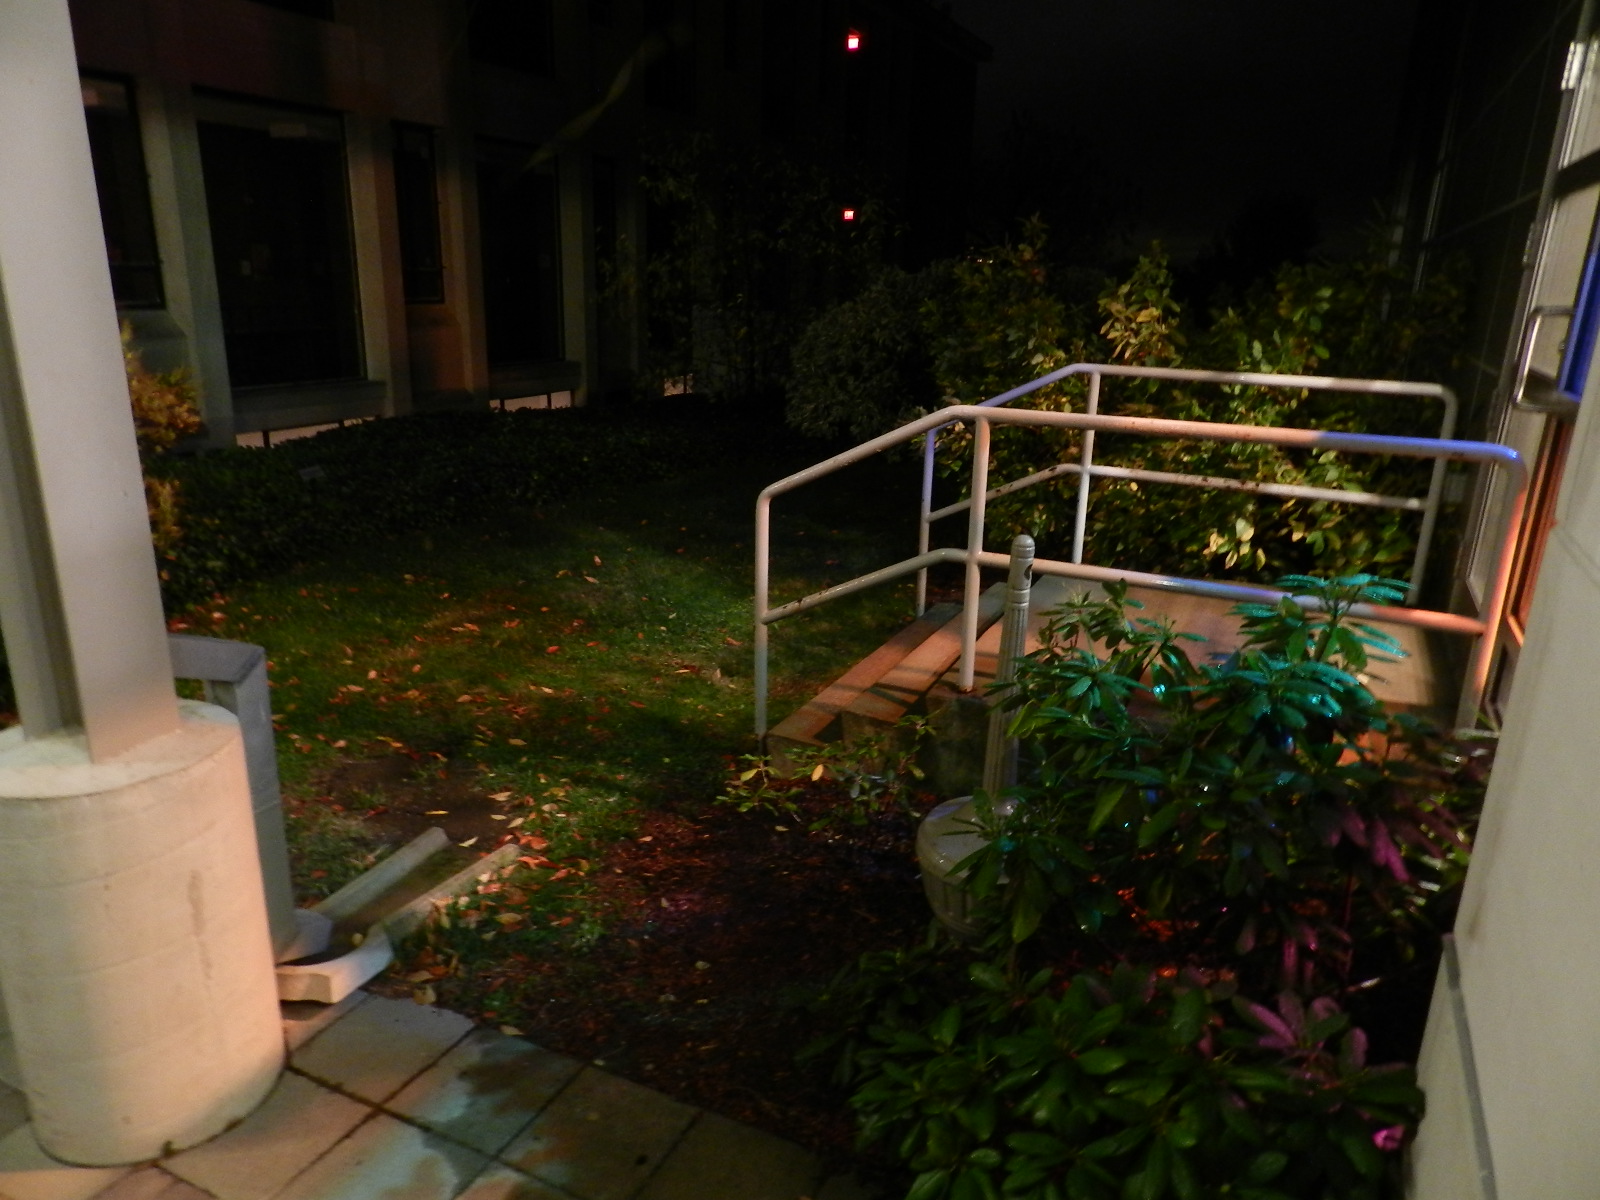
| light projected out through the window into the courtyard at night |

 |
| view from outside |

 |
| Inside view of projection during daylight |
 |
| inside view of projection during night |
 |
| Video of me interacting with the projection a bit. Better footage to come soon, but this is a teaser |

MORE POSTS ABOUT THIS PROJECT:
<< PREVIOUS POST | NEXT POST >>
No comments:
Post a Comment