The second question was how to daisy-chain the pushbuttons together. In my prayer bead string of buttons, I wanted to be able to differentiate between having hit the same button twice and moving to the next button in the sequence. My solution was to make two strings of buttons ending in two input pins and then alternate the button strings so that the inputs would sequentially alternate. For this I assumed I had to use Normally Closed buttons, since the circuit would have to run all the way to the last button in the sequence and be broken by any of them along the way.
I didn't have any NC buttons, so I decided to make my own (a circuit closed temporarily by a movable conductive object), but my breadboard was occupied by my other prototypes. That's when I remembered that graphite is conductive! Who needs breadboards?

As I was trying things out, I discovered that the legs directly across from each other on the Normally Open pushbuttons I had were actually completed circuits, and that pushing the button would actually connect the two parallel sets of legs to each other, which means that I can link the NO buttons to each other after all without worrying about the circuit being constantly broken. It's like railroad tracks; the two parallel tracks just don't connect until any one of the buttons is pressed (and lays down a cross tie? Ok, no more railroad metaphors.) Here's my drawn graphite prototype in action.
Then I translated that to my breadboarded prototype, and we have our first chain of buttons (both doing the same thing to control the LED). I lastly took that one step further and wrote the code to accommodate 3 buttons in a series, alternating the two circuits, and accounting for whether the current button pressed is part of circuit 1 or 2. This way, the pixel is only advanced if the button pressed is the next button in the series. If the user presses the same button twice it merely repeats that same pixel.

[pic of breadboard]

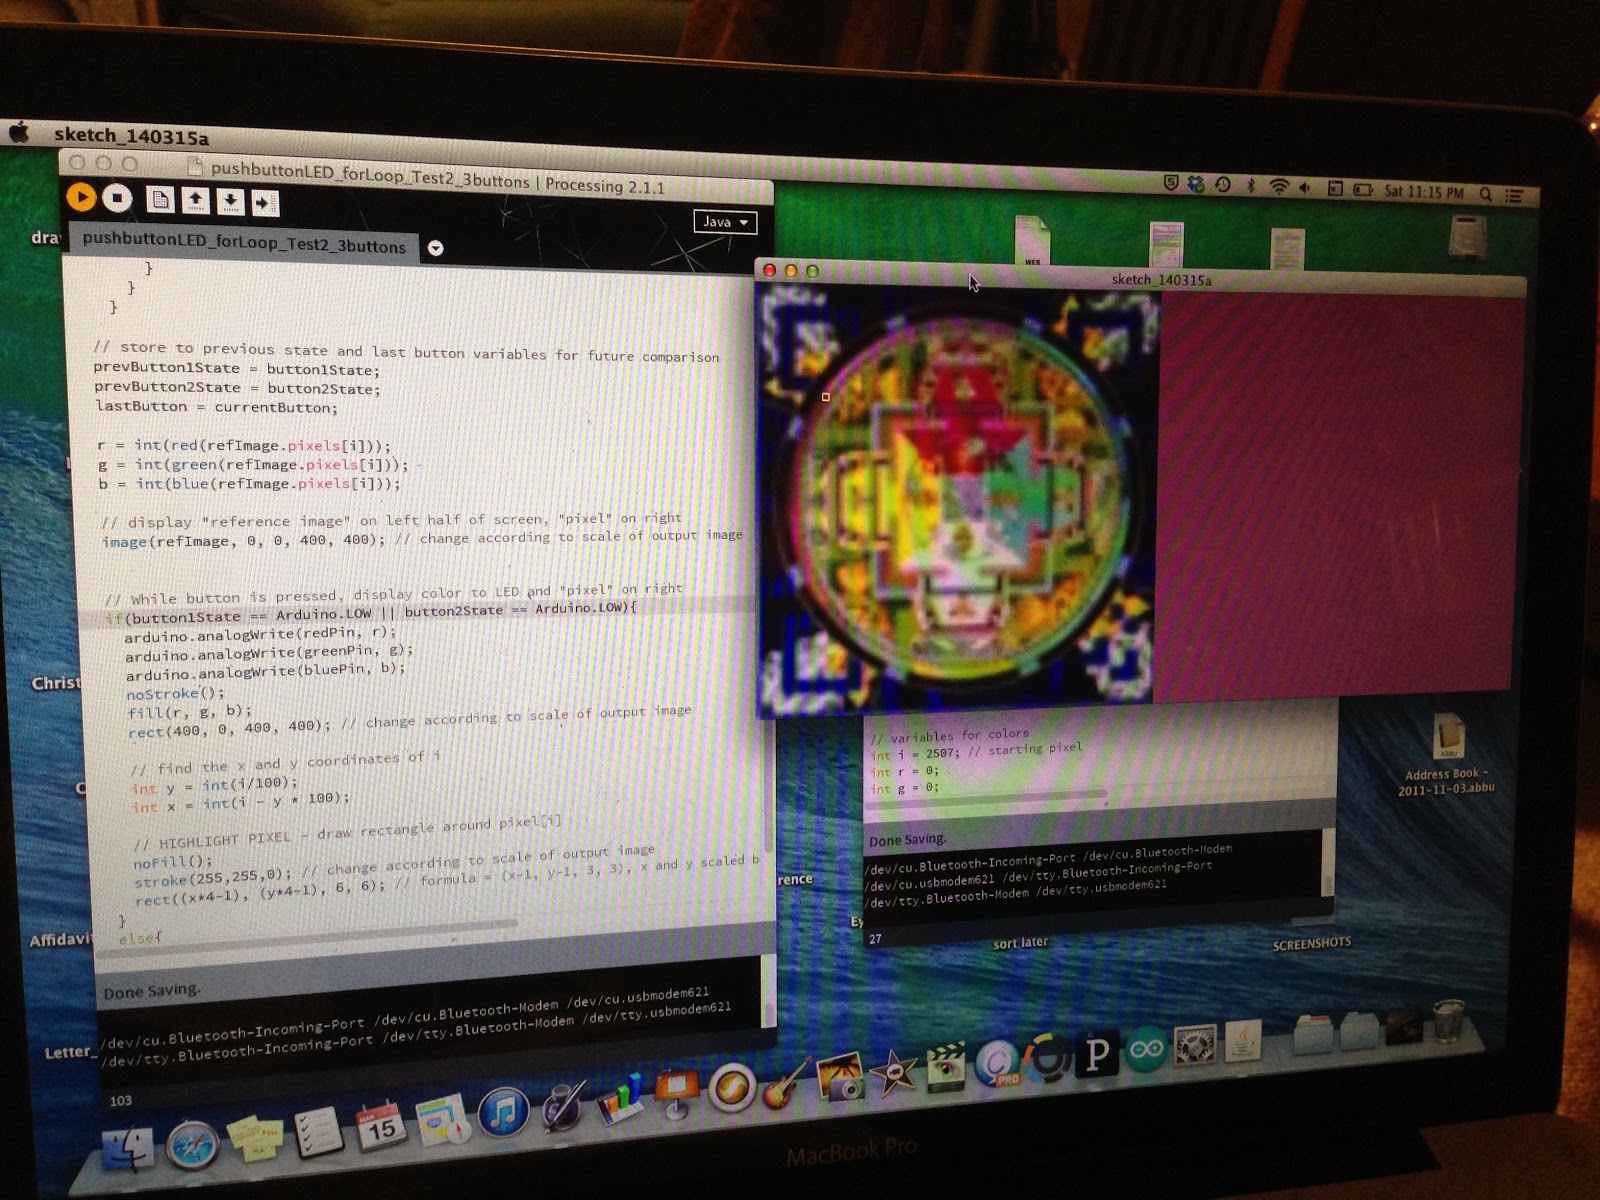 |
| notice the tiny yellow square highlighting the pixel in the pink ring towards the top left quadrant of the image |
No comments:
Post a Comment