It began like this:

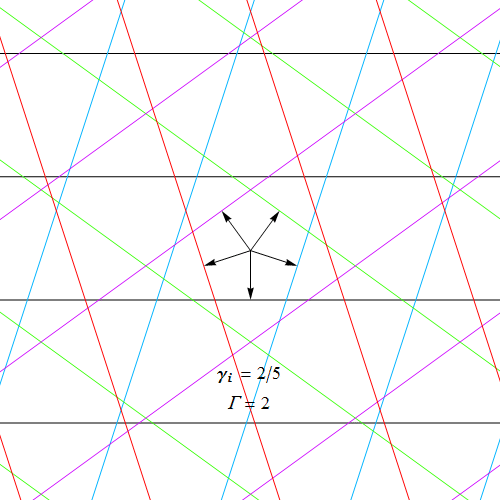
We began with Christine's Ammann Grid and Penrose Tiling, which she'd been working with quite a bit in her own practice. These are aperiodic, non-repeating patterns that, through their connection to quasicrystals and diffraction patterns, have much to do with the underlying makeup of reality.
We began to ask ourselves how we could collaboratively compile the five layers of the grid, each layer being informed by our own practices, and each bringing to it our own take on the makeup of reality.
After a site visit, we noticed a small back room that might be really useful to us, which already sported a circular window cut into the wall. At first the gallery director was happy to patch that up, but we quickly realized it might actually be a useful eccentricity that we could co-opt. having a window into an otherwise enclosed space would allow us to project into an otherwise dark room, and be able to maintain the darkness without having to forgo lighting the rest of the exhibition. So we started by mocking up the floor plan of the gallery, and assembly a crude maquette of our concept.


The Ammann grid, as I mentioned, has 5 sets of lines in fivefold symmetry. Each set of lines would be created thusly:
1) In this model, the red case is a projector, which would digitally project the first layer of grid lines.
2, 3) The second and third layers would be made of laser-cut plexi (the two pieces propped up by the remote and the coffee here). which would get picked up by the projector, projecting the digital image through the plexi.
4) The fourth layer would be a window cut into the wall of the gallery, with plexi tubes inserted to make the grid lines (the two books on either side of the "window" represent the wall).
5) All of this would then get compiled onto the back wall, which would have panels coated in glow in the dark paint as the fifth and final set of grid lines. When the projector shines through each of these layers, they all get added together into the complete Ammann grid and captured in the glow of the panels in the darkened back chamber.
Our first task, once inside the space, was to convert the (relatively poorly cut) circular hole on the wall from a prior exhibition into the square hole that we needed. This would allow the small back room in the gallery to be dark enough for the glow panels to work, but give a window through which the projection could shine in and expose the glow paint with the imagery.
Fortunately John and I tend to be pretty handy when it comes to hacking together jerry-rigged carpentry.
 |
| the original hole |
 |
| fitting a 2x4 frame for our desired hole |

 |
| after some crafty tracing and jigsawing, John filled in the gaps, which magically ended up fitting almost perfectly on the first try. |
 |
| just needed a little sanding and patching |

 |
| a few coats of joint compound and paint later, and we were ready to start fitting in the acrylic rods |
The acrylic rods were meant to be a nod to John's use of florescent lights in his own work, and would work well to cast the shadow of that layer of grid lines onto the back wall. Our first layer of grid lines was complete. Next we could start projecting our grid template image to begin lining up all the other layers. The acrylic rods were the least flexible in terms of dimension, so we ended up using that as our starting point and then sizing the rest of the gridlines accordingly, accounting for size differences due to the distance of the projector and the position of the plexi, etc.


As you can see a bit in the picture above, we stumbled onto a cool negation effect that complied nicely with my own practice in which the grid, if lit from a certain angle, would cast its pattern on the the wall on either side of the window as well. That image could be intentionally washed out by the projection, so that when the viewer walks in front of the projector, his shadow reveals that cast light pattern. We ended up building that into the project, placing lights on either side of the plexi (represented by the stapler and the jar of paint in our maquette above)
With that starting to come together, we were able to hang some blackout curtain and tar paper to ensure that back room would be as dark as possible.
There are very few times in art when things go even smoother than planned - the square peg in a round hole shown above was certainly one of those fortunate times. This was another. It just so happened that we had exactly enough fabric, to the inch, to cover the doorway to the back room! No cutting or sewing required!


We set up the projector and I began prepping the glow panels, as we started to hang the plexi piece.
 |
| Also above, you'll see the Dropcam Pro we installed to be able to live stream our project... more on that later |

Laser cut plexi is a material Christine uses a lot in her practice for its ability to reflect and refract light projected through it. With the two layers of plexi grid lines almost in place and the acrylic window tube grid lines, 3/5 of our grid was nearly assembled. We next needed to settle on the projected image. For that we turned to John's use of text, assembling the grid layer our of utopian/dystopian social commentary John had been working with.


And we also discovered another happy accident: if we angled the clear plexi just right, it would refract a greenish pattern on the wall on either side of the window (which we'd use for the negation effect discovered above), and reflect a purple pattern on the side wall - a wall we heretofore didn't know what to do with! It was a really nice unexpected outcome, compounding the viewer interactive experience. By standing in front of the projector the viewer would find his shadow amide the artwork in as many as 5 locations at once (on either side of the window, inside the window, on the side wall, and on the back wall)
 |
| purple/green refraction/reflection |

lastly I installed the glow in the dark masonite panels on the wall inside the chamber behind the window, a technique I've used before in other projects in order to capture an image in a fading glow.
 |
| 3 of the 5 layers (minus the plexi) |
Next, to make it all work, I had to build an automated shutter for the projector, which would allow the projection to turn off every so often so the glow panels would be visible. That I did using a simple arduino program and a servo motor, an upgrade from a similar shutter I made for a prior glow panel project
...And Voila!


In the midst of all this, we began installing our individual projects as well, in which we imagined what our own practice might look like if it incorporated the practices of our collaborators. We borrowed from each other's conceptual tool boxes to create new works in response to the collaborative process.
 |
| John installing his stained glass piece, borrowing from my use of stained glass imagery and Christine's technique of casting light through her plexi pieces to project imagery onto the wall. |
 |
| John painting the box I made to house the projector, and Christine's piece in the background. A plexi piece that borrowed themes of QR codes and advertising images from John's and my practices. |
In the interest of space, I'll go into those individual projects, including my latest projection negation piece, in my next post.
And lastly, I'll post some shots of the whole shebang once all was said and done, during the opening reception and then some!
A Directory of the other posts about this project:
THE COLLABORATION:
Fourfold - A Collaborative Exhibition - our first site visit and the beginnings of our concept for the showFourfold Collaboration - building and installing the main collaborative installation (You Are Here)
INDIVIDUAL WORKS:
Fourfold - Meditation 1.4 - Behind the scenes of my site specific drawings for the exhibitionThe Threefold Fourfold, In Twofold Fivefold - Behind the scenes of my fourfold projection negation project
FINISHED PROJECTS:
The Finished Fourfold: Collaboration and Multi-Site Exhibition - An overview of the finished exhibitionThe Final Fourfold (Four Now...) - Images from the opening reception and other events
No comments:
Post a Comment